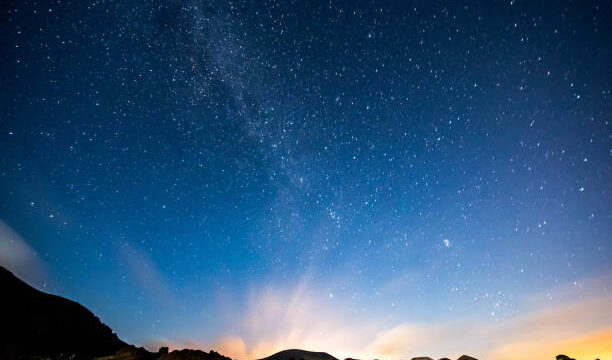
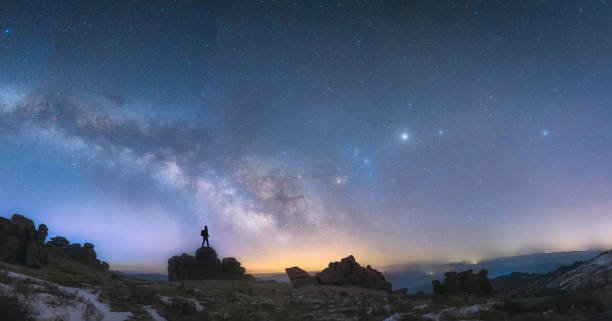
Night Photography Sessions: Capturing stunning night photography.


Night photography is a captivating art form that involves capturing stunning images after the sun has set. This type of photography allows you to explore new techniques and unleash your creativity, revealing hidden beauty in the darkness. Camera settings, subject selection, and creative composition play crucial roles in achieving breathtaking results. Whether you’re photographing cityscapes, stars, or car light trails, mastering night photography can transform your portfolio. Here, we will delve into the essential aspects of night photography sessions, providing tips and tricks to elevate your nighttime captures.
Understanding Night Photography Basics
Before embarking on your night photography journey, it’s vital to understand the basic principles that govern shooting in low-light conditions. First and foremost, using a sturdy tripod is crucial. The lack of light necessitates longer exposure times, and a stable base will help prevent camera shake. Moreover, adjusting your camera’s settings, such as lowering the ISO and using a longer shutter speed, can optimize the quality of your images. It’s also important to experiment with different apertures to find the sweet spot for depth of field and light capture. Lastly, utilize manual focus to ensure crisp details in your subjects, as autofocus may struggle in the dark.
Essential Gear for Night Photography

Equip yourself with the right gear to enhance your night photography sessions. Here’s a checklist of essential items to consider:
-
- Camera: A DSLR or mirrorless camera with manual controls is ideal.
- Lens: A fast lens with a wide aperture (f/2.8 or lower) can gather more light.
- Tripod: A sturdy tripod is indispensable for stability during long exposures.
- Remote Shutter Release: This minimizes camera shake during exposure.
- Flashlight or Headlamp: Useful for navigating and adjusting gear in the dark.
With the right equipment, your chances of capturing stunning night images improve significantly. Always carry extra batteries and memory cards, as colder temperatures can affect battery life. Testing your gear before heading out can save time and frustration. Investing in quality lenses and accessories can further enhance the overall quality of your photographs, allowing you to push the boundaries of night photography.
Techniques for Capturing Stunning Night Shots
To truly capture stunning night photos, mastering various techniques is essential. First, consider using long exposures to create dreamy effects. This method is often used to capture light trails from moving vehicles or to smooth out water surfaces in night landscapes. Experimenting with light painting can also yield impressive results. By using a flashlight or a light source to “paint” your scene during a long exposure, you can add unique elements to your photographs. Additionally, consider the composition of your images; leading lines and frame within a frame can draw the viewer’s eye into the scene.
Another excellent technique involves incorporating foreground interest. Adding elements in the foreground creates depth and context, making your images more engaging. Lastly, be mindful of the ambient light in your surroundings—streetlights, neon signs, or the moon can contribute to the overall atmosphere of your photograph. Often, a careful balance of artificial light and natural moonlight can produce striking results in your night photography endeavors.

Editing Night Photography: Enhancing Your Images
The final touch to your stunning night photography is post-processing. Using software such as Adobe Lightroom or Photoshop can help you enhance your images dramatically. Start by adjusting the exposure, contrast, and shadows to bring out the details lost in the dark. You might want to explore options for color correction to ensure vibrancy without losing the realism of the nighttime scene. Noise reduction tools can mitigate graininess—common in high ISO images—while sharpening features can bring details to life.
Experiment with different editing techniques to develop your unique style. Don’t shy away from creative adjustments like adding gradients or vignetting, as these can help focus the viewer’s attention on your subject. Remember, the goal of post-editing is not just correction but enhancement; strive to make your images reflect your vision of the night scene.

Conclusion
Capturing stunning night photography is an invigorating pursuit that combines technical skill, creativity, and an appreciation for the beauty that emerges after dark. By understanding the basics, equipping yourself with the necessary gear, mastering techniques, and applying thoughtful post-processing, you can elevate your night photography sessions to new heights. The night sky holds infinite possibilities, waiting for you to bring its grandeur into the frame. So grab your camera, step outside, and let the magic of night photography inspire you!
FAQs
For night photography, use a low ISO (100-800), a wide aperture (f/2.8 or lower), and long exposure settings (usually 5-30 seconds depending on the light). Use a tripod to stabilize your camera during longer exposures.
2. Is it necessary to have a specific lens for night photography?
While not absolutely necessary, a fast lens with a wide aperture (like f/1.8 or f/2.8) is preferable as it allows more light to enter, making it easier to capture clear images in low light conditions.
3. How do I avoid light trails while shooting at night?
To avoid unintended light trails, you can either shorten the exposure time or use a faster shutter speed. Additionally, ensure that your camera is stabilized to minimize blur caused by slight movements.
4. What is light painting in night photography?
Light painting is a technique where you use a light source, such as a flashlight or sparklers, to illuminate areas of your scene during a long exposure. This adds an artistic effect and enhances storytelling in your photographs.
5. Should I shoot in RAW format for night photography?
Yes, shooting in RAW format is recommended for night photography as it retains more detail and color information, allowing for greater flexibility in post-processing adjustments.

